
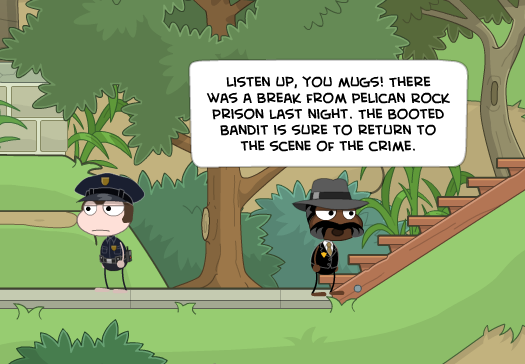
Escape from Pelican RockPelican Rock is the toughest prison ever built. And after you're framed for a crime you didn't commit, it's your new home! Use your wits to devise an escape plan, and your nerve to pull it off. But getting out is just the beginning — because the real criminal is still out there!
|

|
Written Guide
|
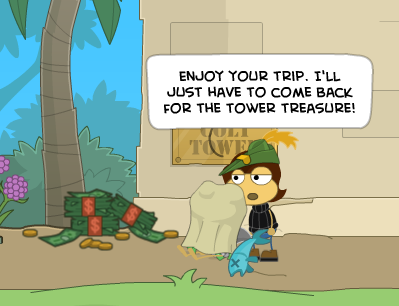
Ahh, a nice peaceful day on Pelican Bay... walk left along Main Street, passing the boy zipping around on his roller-skates. Suddenly, a robber bursts in from the left! He plows past the old lady with the dog, holding a bag full of cash. Run after him, to the area to the right. Chase him all the way to the top of the hill (this is quite straightforward: just go right up the stairs and then zig-zag left and right until you reach the top. Make sure to jump on the red and green umbrella to continue up). There's a pile of cash right next to the statue! Click on it to grab it.
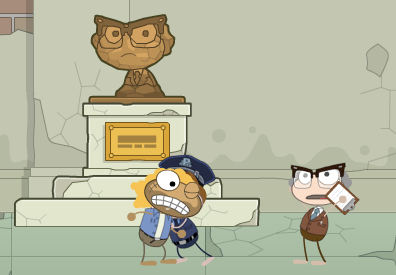
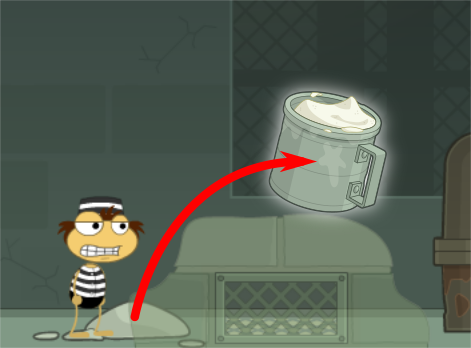
Oh no! The thief will come out of hiding and then swap places with you; what are the odds, you look exactly alike, except for one thing -- the real thief wears shoes! Suddenly you've been framed and send to the toughest prison on the planet, Pelican Rock. You'll swiftly find yourself in your cell at the end of the hall. Go right and grab the Metal Cup off the bench. Nothing more for you to do, so click on your bed and go to sleep, awaiting your first day of prison...
|
|
Day 1
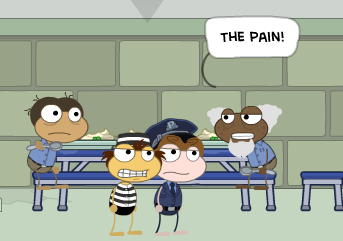
Such friendly cellmates.
|
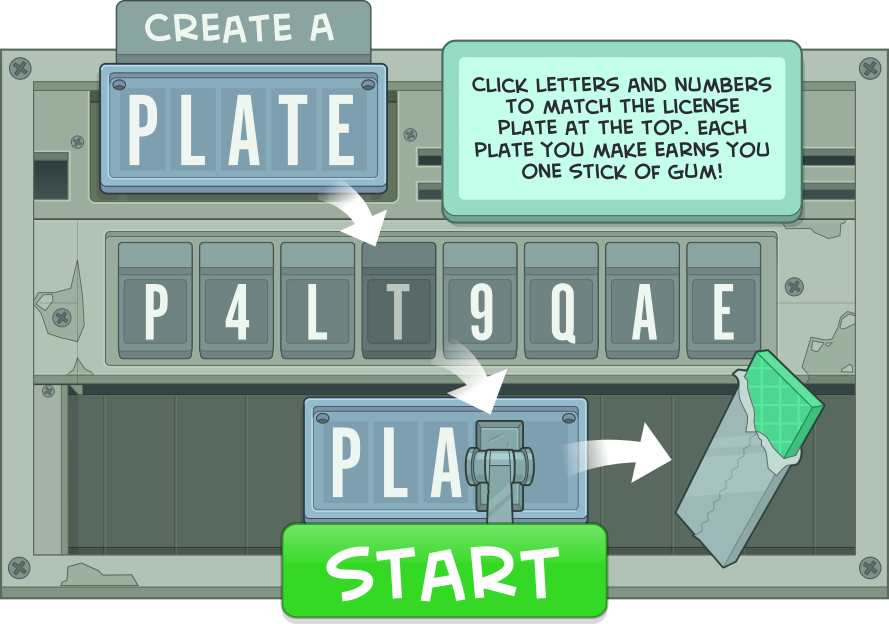
Now you're in the Recreation Yard, where you can meet and converse with your fellow inmates. After you've talked to all of them, the Warden will arrive and give a speech, causing Big Tuna to go berserk... and then you're off to the second part of the day: Work. Talk to Marion, and then go back right to the guard and ask for a drill bit. Go back left and talk to Marion to give it to him. Next you'll learn how to use the Licence Plate Machine, which is what you do in the Metal Shop to earn pieces of gum. Other prisoners will often trade you things for a certain amount of gum, so make sure your supplies are high!
|
|
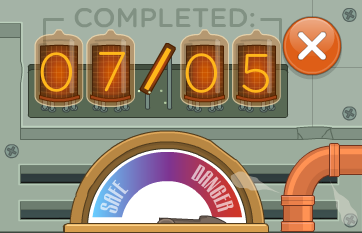
After the first three plates are made, you'll stop for fear that the machine will overheat. No need to worry though, you can click on the machine again to keep going, and make as many more as you want (but make sure to stop before the danger needle reaches max). Then go right and tell the guard that you're done, and you'll get your hard-earned sticks of gum. Now for mealtime! But first, go all the way left and talk to the cook, Flambe. He'll tell you that in order to get a job in the kitchen, you'll need to bring him three cage-free eggs. Hmm...
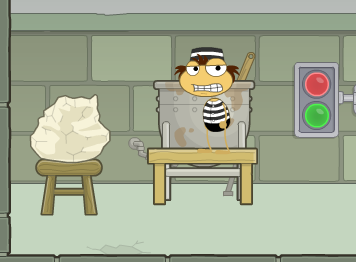
Anyway, time to start plotting our escape, and the first thing you'll need is a sharp object to open up the ventilation grate in your cell. Go right and sit between Marion and Patches at the table. Give Patches 3 sticks of gum, and he'll create a diversion. Quickly, go right and ask the second guard for a spoon. Now you have two. Tell the second guard that you're done eating, and you'll only have to give back one of the spoons you've collected, so you get to keep the first one! It's not sharp enough yet to do anything remotely nefarious, so go to your cell. USE the metal cup in front of the sink to fill it with water, then go to bed and wait for the next day.
|
Run right and get another spoon while Patches distracts the guard
|
Day 2
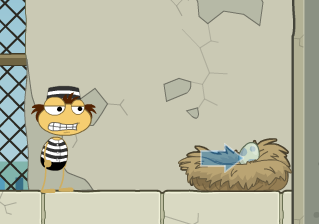
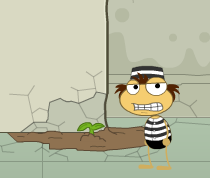
It's going to be a busy day at the yard today. First thing, go right and talk to Patches. He'll start feeding the birds, and you'll see one fly in from the top-right, abandoning its nest and egg. Go right and climb up there (you'll have to bounce up on the basketball hoop), then collect the egg. Return back down to Patches, and collect the extra few seeds that the bird left behind. Now go left, to the patch of dirt poking out underneath the wall. USE the sunflower seeds to plant them. If you forgot to fill your cup with water last night, go right and up, in front of the basketball hoop, where the water is dripping out of the pipe. USE the metal cup to fill it with water, then go back left to the patch of dirt. In either case, USE the cup again to water the new plant. You can only water it once a day, though, so talk to the guard and go to work.

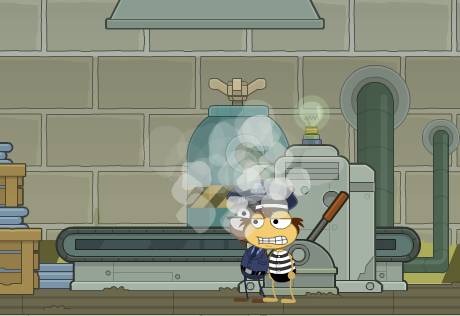
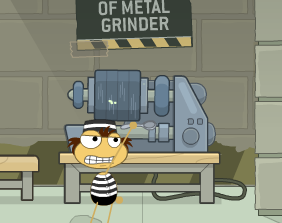
We want to grind down our spoon to sharpen it today, but we can't use the Metal Shop grinder while the guard is looking. Go all the way left, to the Licence Plate machine. Make 7 plates. The machine will overheat, and start belching steam! The guard will run over to inspect it and her glasses will fog up so that she can't see anything, so quickly go right and click on the grinder (it's the machine to the right). Soon, your spoon will be nice and sharpened! Tell the guard that you're done for the day and collect your gum. Skip the mealtime too (just tell the guard that you're done immediately after getting your spoon).
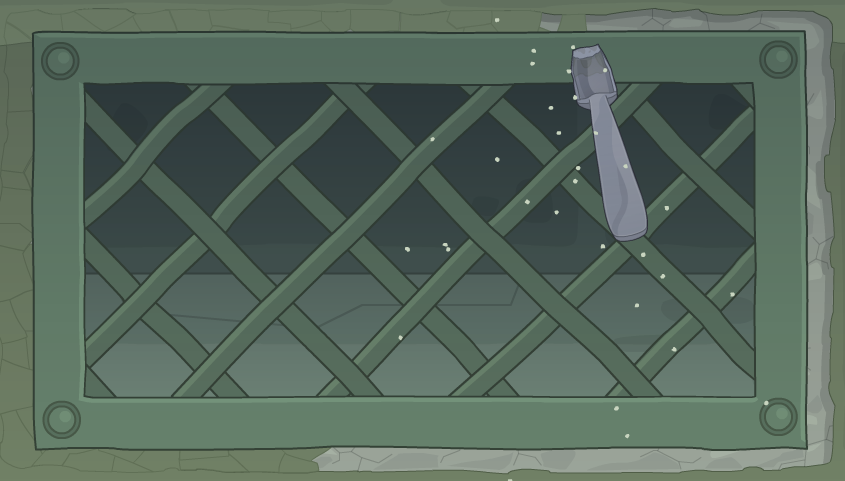
Now, time to test your spoon! Wait until the guard has gone far enough away from your cell (you'll know when the "guard tracker" box appears at the top of the screen), then click on the ventilation grate. By clicking repeatedly on the border of the metal and the wall with your sharpened spoon, you can loosen the grate! Scrape off as much as you can before the guard gets back (if you pause scratching, you'll be able to see how close the guard is in the box at the top). If he does catch you though, you'll have to pay him a stick of gum. (This might actually be a good strategy, if you can afford the gum). You won't be able to finish today, so go back to sleep after you finish about half. Make sure to fill the cup of water too.
Day 3
|
In the Recreation Yard, repeat what you did yesterday: talk to Patches so he'll feed the birds and attract one away from its nest, then quickly climb up to its nest to collect the egg. There won't be any seeds to collect today. Then water the nascent sunflower plant, either with the cell sink water from last night or by getting more water from the leaky pipe to the right of the Yard. Skip work and mealtime.
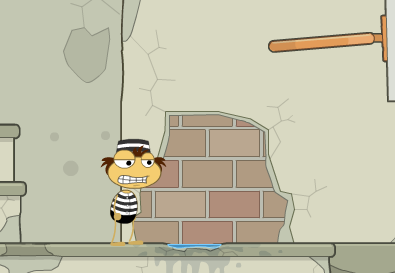
Again, tonight in the cell, after the guard passes, chip away at all of the remaining wall around the grate. Now you can click on it to get behind the cell! You'll notice there's a pile of plaster next to the entrance. But the guard will be coming back soon, so quickly USE the metal cup. You'll fill it with some plaster. Then go back out through the grate and go to sleep. To be able to move around in the vents, we'll need a way to fool the guard into thinking we're asleep in bed when we're actually in the vents.
|
|
Day 4
Get the last egg in the Recreation Yard today. Finally, you have three! Since your cup is filled with plaster, you can't water the plant today. Skip work. At mealtime, go all the way left and give the three eggs to the cook Flambe. You'll be let into the kitchen, and assigned the duty of mixing the mashed potatoes. Go left to the pot, but USE the cup of plaster to put it in. Then mix it. It'll stiffen up into an inedible block! Then, you can use your sharpened spoon to carve it up into the shape of your head. Yes, your own head; all you have to do is repeatedly click on the block. This'll be a perfect prop to put in your bed to fool the guard, but it's not the right colors yet.
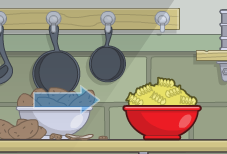

Before you leave, make sure to click on the red bowl on the counter to grab a piece of uncooked pasta. Doesn't that look a bit like a drill bit, albeit the wrong color? Also notice the mixer that Flambe is holding. If you swap the pasta for a drill bit and combine it with the mixer, you could make a makeshift power drill... hmm... ideas, ideas. Now leave the mess hall and go to bed.
Day 5
Water the plant in the yard -- it's almost bloomed! If you have less than five sticks of gum, make sure you work and get at least five. Skip mealtime, then go straight to bed.
Day 6
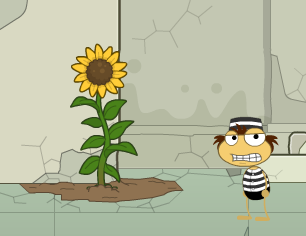
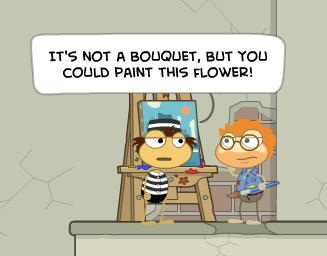
Water the plant again. It's finally at full bloom! Click on it to pluck it. Then go right, and up, to the painter Van Nostrand. USE the sunflower to give it to him. He'll be thankful, and gift you one of his paintings of the tower, which incidentally is the same place you were framed earlier in the Island. Now give him the plaster head. For five sticks of gum, he'll paint it to look like you and give it to you the following day. If you have less than seven stick of gum, make sure you work until you have at least seven, and then skip mealtime and go straight to bed.
Day 7
Meet Van Nostrand in the Yard. He's got your painted head ready. Then give him the piece of pasta, so he'll paint it silver to look like a drill bit. He'll charge you seven pieces of gum for it. Skip work and mealtime. When the guard passes out of view in from of your cell, USE the painted head to put it on the bed, then you'll run into the vent. The head will fool the guard, who thinks you're sleeping, so now you have as much time as you need for exploring the vents!
Climb up the right side and then go right to the Mess Hall Corridor. There's a puzzle here that you can manipulate to change the direction of the airflow. The steam enters the vent from the kitchen exhaust to the left, and then it can be directed above either of the three tables. We want to direct it above the first table to the right, where Florian sits, so we can play a little prank on him later and cause him to throw a tantrum. Click on the vent handles to turn each piece of the vents, and follow this diagram:

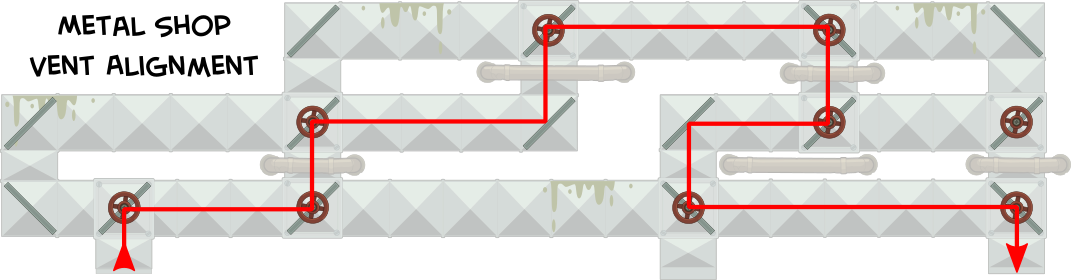
Now leave this corridor to the left, and climb the chains. Slide your way all the way left, and enter the Metal Shop Corridor. Here, the puzzle is quite similar. Steam enters the system from the left, where the Licence Plate machine is, and it can be directed either to the closed-off node between the grinder and the drill press, or to the open vent above the guard's desk. Since we know she wears glasses, we want to direct the steam above her desk, rendering her unable to see very well, so our trick with the silver-painted pasta might just work. Arrange the vent parts like so:
Phew! Now that all our plans for the next day are set up, return to the cell and go to bed.
Day 8
|
First thing in the Rec Yard, go up to Van Nostrand and he'll return to you the piece of pasta you gave him, painted silver this time to look like a drill bit. Uh-oh, he got in trouble and his easel's confiscated; no more painting jobs for us. Thankfully, we won't need any; go to the guard below and ask to go to work.
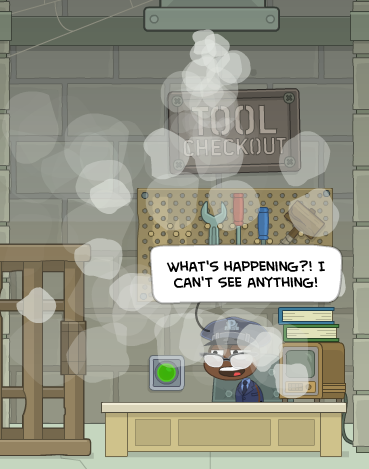
Ask the guard for a drill bit before you begin. Then go all the way left to the Licence Plate machine, and start making licence plates; don't stop at 5. At around 7, the machine will overheat again and the guard will come running over, getting her glasses fogged. Eventually she'll return to her desk and turn on the fan, but due to our vent trickery, now it's blowing the steam directly onto her, rendering her nearly blind! Now talk to her and USE the painted pasta. She'll accept it as the bit and send you on your way to mealtime; but this time you get to keep the real drill bit.
|
|
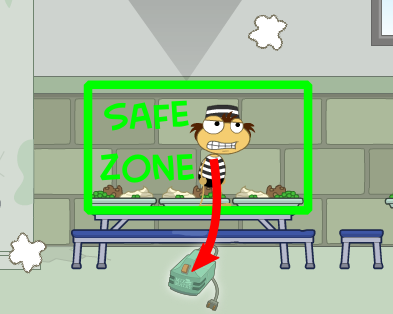
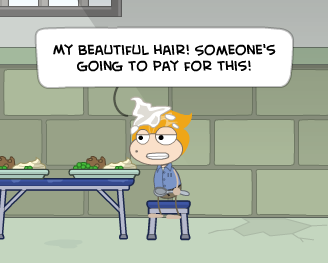
Run all the way left into the kitchen, and turn on the fan next to the pot. Then click on the pot to start mixing it. Suddenly, the vent system will suck up the mashed potatoes and they'll splat smack down on Flashy Florian's shiny hair! He'll throw the expected tantrum, igniting a foodfight. Flambe valiantly ventures into the battlefield... only to return wounded and missing his precious mixer. Now go right, into the mess hall. Jump up to avoid the mashed potato projectiles when the waves abate a bit, then try to land near or on the middle bench (this area is a "safe zone" that's never hit by a piece of food). Click the mixer that's underneath it, and you'll collect it (you can't move ahead until you've collected it). Now Flambe will let you keep it, and your plan is finally in its final stage. After lockdown, enter the vent system and climb up to the Mess Hall Vent Corridor (to the right).
|
|

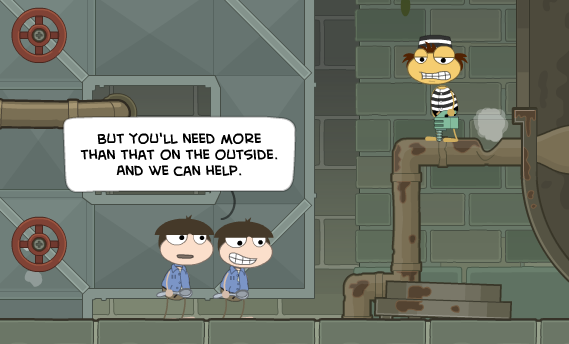
Go all the way right and USE the drill bit to attach it to the mixer, then climb in front of the panel with the rusty screws and click on it. You'll use the makeshift power drill to remove the panel. Ahh, you can almost smell the sea breeze of freedom... but what's this, here come the twins! They suggest that you wait until the next night, so that you'll have a raft to make it across the river. Hmm, wonder how you were planning to cross it otherwise...

Escape!
At last, the day of the escape! You'll briefly reunite with Patches, who amusingly sics the birds on Florian and Big Tuna, and with Marion, who will now sell you the prisoner files that he's stolen for any amount of gum that you have left over. Now in your cell, go into the vent system again and rendezvous with the twins in front of the escape hatch. They'll go through first to set up the rafts, but render the path unfollowable; so you'll have to go up to the roof.
|
Now here is one of the common tropes of Poptropica: There are some spotlights combing the roof, which you have to avoid while also moving forward. To do so, move forward until you can hide behind an object, like a turbine vent or water tower. Wait until the spotlight passes, then continue on to hide behind the next object. Go forth until you drop down onto a lower platform. In front of you are three windows behind which a flashlight-wielding guard paces, so stay back (to the left).
If you're standing in front of or near a window that the guard is also near, he'll spot you, so avoid that. Wait until the guard starts walking to the right, away from you. When he passes completely out of the leftmost window, walk forward so you're in front of it. Then wait until the guard passes completely out of the next window. After he passes out of the third and last one, go forward quickly so you push the crate as far right as it can go.
|
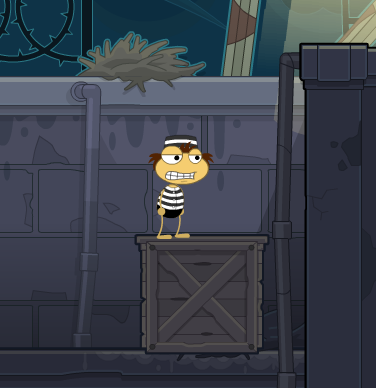
Push this crate to the right, then jump up from it
|
Stand on the crate. There's a spotlight panning the platform above, so wait until it starts moving to the right and away from you before you jump up to that platform. Go right to the next area. It gets tougher here; after you come out from behind the first turbine vent, you'll have to jump over the next obstacle before you can run and hide behind the next turbine vent, so move fast. Now at this next stretch, you will have to push a crate forward while moving to the next hiding vent, which will slow you down. So wait until the beam is somewhat in front of you, before you push the crate and hide behind the next vent, always a step behind the receding beam.
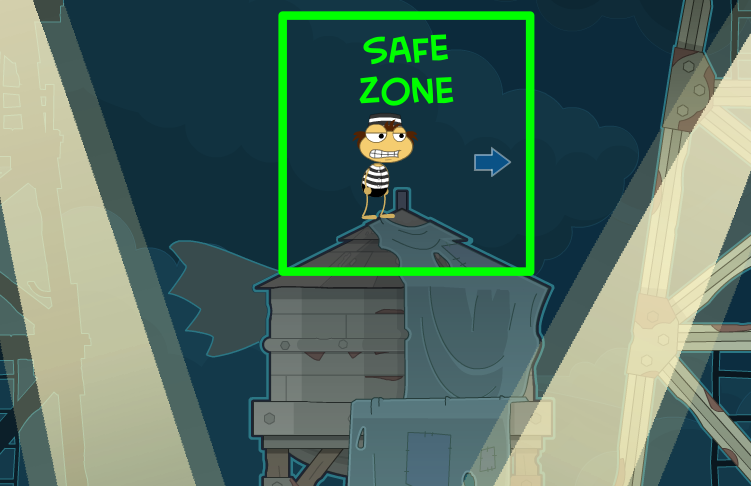
When the beam passes behind you, push the crate all the way forward to the right and then jump on it, then up to the top of the water tower (this is a safe zone where the beams can't touch you). When you see that the beam is moving away from the vent in front of and below you, drop down and hide behind it. When the beam passes behind, go forward to the next area; even harder!
Wait until the beam passes to the right, then run forward and drop down to the lower platform. When the next beam has started sweeping back, run up the diagonal platform and wait at the left edge of the building, where the guard behind the window can't see you and the spotlight can't reach you. Again, as with the previous guard-behind-windows situation, move past each window only once the guard has totally gone past it to the right. Remember, hiding behind the vent won't stop the guard from seeing you, but it will avoid the spotlight. And if you stop in front of the door, the guard won't see you, but the spotlight will. This part is tricky and there's no one exact path to follow, so just remember to move as swiftly as you can and choose whether to hide depending on which threat is closest. When you get past, hide behind the crates to the right.
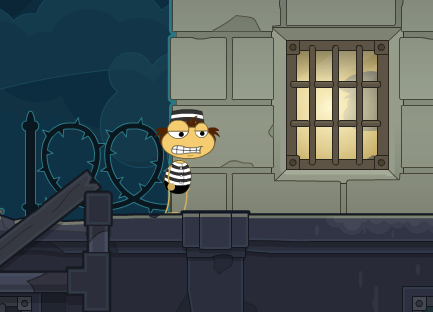
|
|
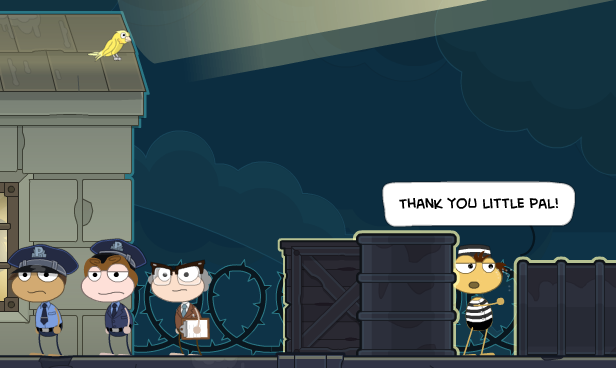
Oh no! The warden has heard us! He'll come up and demand the roof be searched, but at the last moment Patches' loyal bird will swoop in and mislead the guards. You use this opportunity to leap off the roof and sail to freedom, leaving the warden's suspicions tickling.
Clearing Your Name
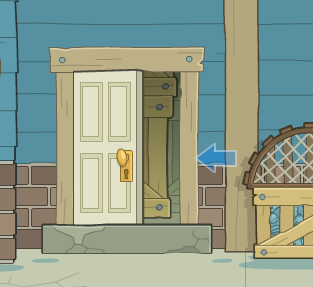
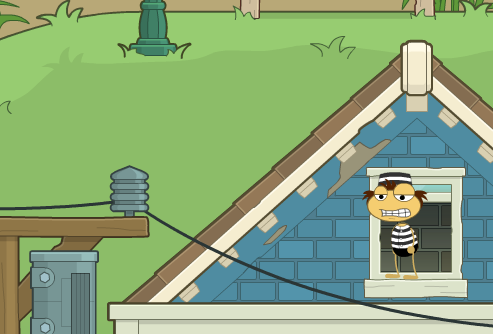
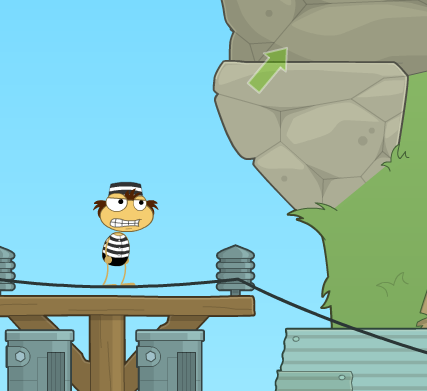
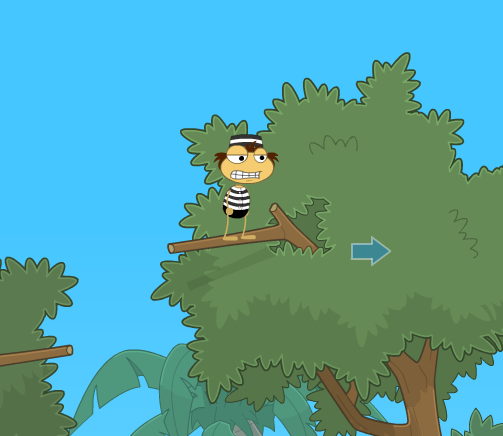
Ahh, the fresh sunlight and liberating scent of freedom... or as free as you can be when you're surrounded by cops and there's an arrest warrant on your head. Click on the door of the tall Fish Warehouse building to enter, and start climbing up it from within. When you get to the window in the top, don't jump up, but walk straight left using the power line as a tightrope (yep, totally non-dangerous). At the end, jump up to the rock ledge, then up to the red bench, and then up to the street lamp, and then up to the tree branches. Jump from branch to branch to the right. When you're on the rightmost one, simply drop off down to the right and then walk up to the statue.
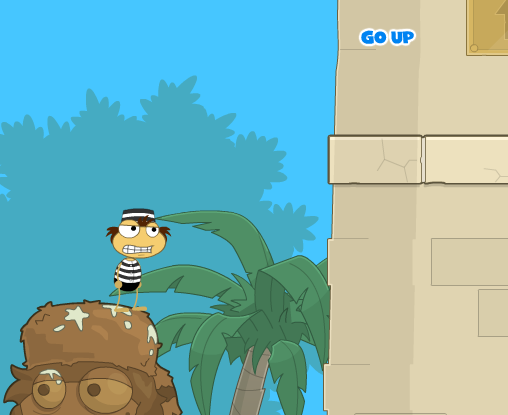
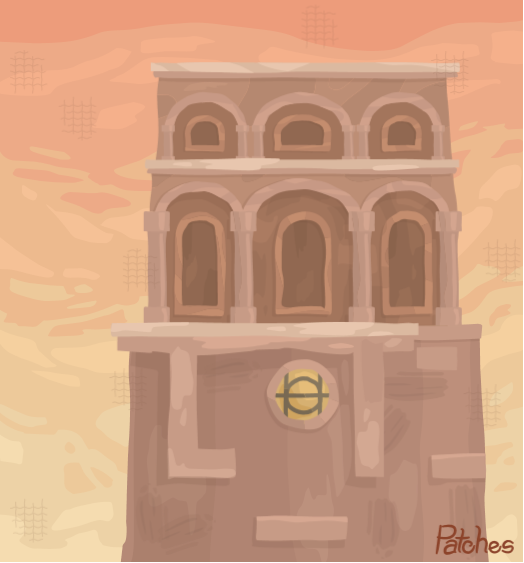
Walk all the way right, then jump behind the trash can and push it to the left (nope, the police won't hear that noise at all). Jump onto it, then jump up to the statue (yes, yuck). From there, jump up right to the platform ledge on the tower, and go up to the upper part. This is straightforward, just jump you way up to the top-right of the tower using the various platforms, window ledges and whatnot. At the top, you'll notice something strange about the window cutouts... but what is it?
|
|
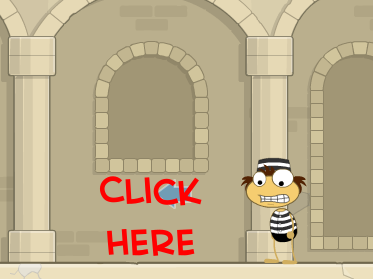
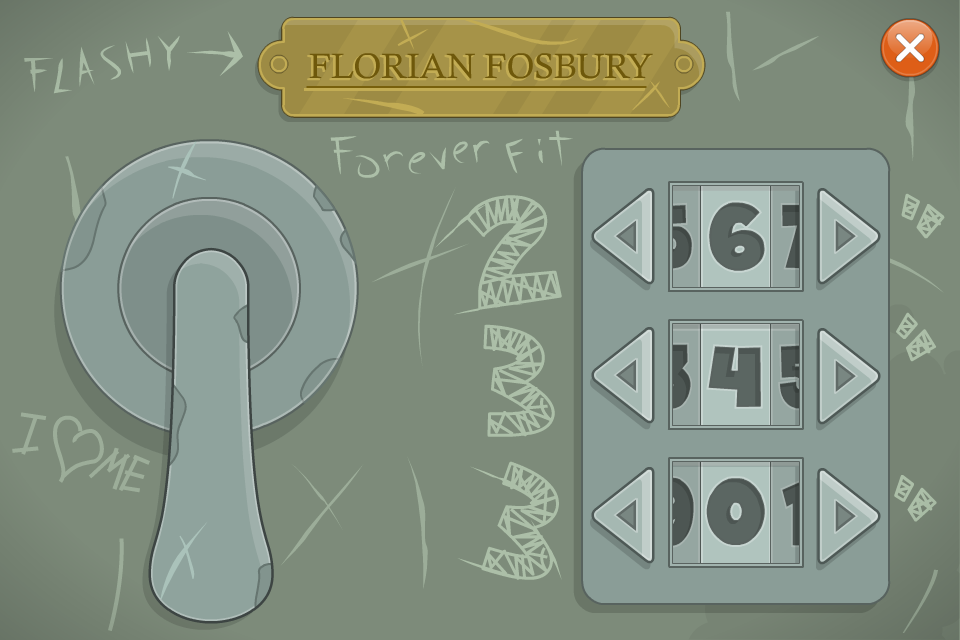
It's the tall middle window! In the painting, it's the same height as all the others in its row, but on the tower, the bottom half has been cleverly walled off! Click on the wall underneath the middle window to identify it, then USE your sharpened spoon to remove the covering. There's the safe that Florian Flosbury was accusing you of having stolen from him! Suddenly, the police and the real Booted Bandit (identified by his, well, boots) storm in from the wings. To prove your identity, you must open the safe, and the combination is Flashy Florian's precious "measurements": 26-34-30.

|
|
Finally, the priceless treasure is unveiled... ta-da, headshots of none other than Flashy Florian Flosbury himself! What a treasure; but the Booted Bandit doesn't think so and incriminates himself. At last, the marshal admits his mistake and clears your name, generously offering you the Island Medallion and favorable parole reviews for your newfound inmate friends. You're a free Poptropican!
